Although it may not seem like it, falls are common in bathrooms. Whether it’s a wet floor, trouble getting up from the toilet, or trouble getting out of the shower, bathrooms can sometimes be a dangerous place.
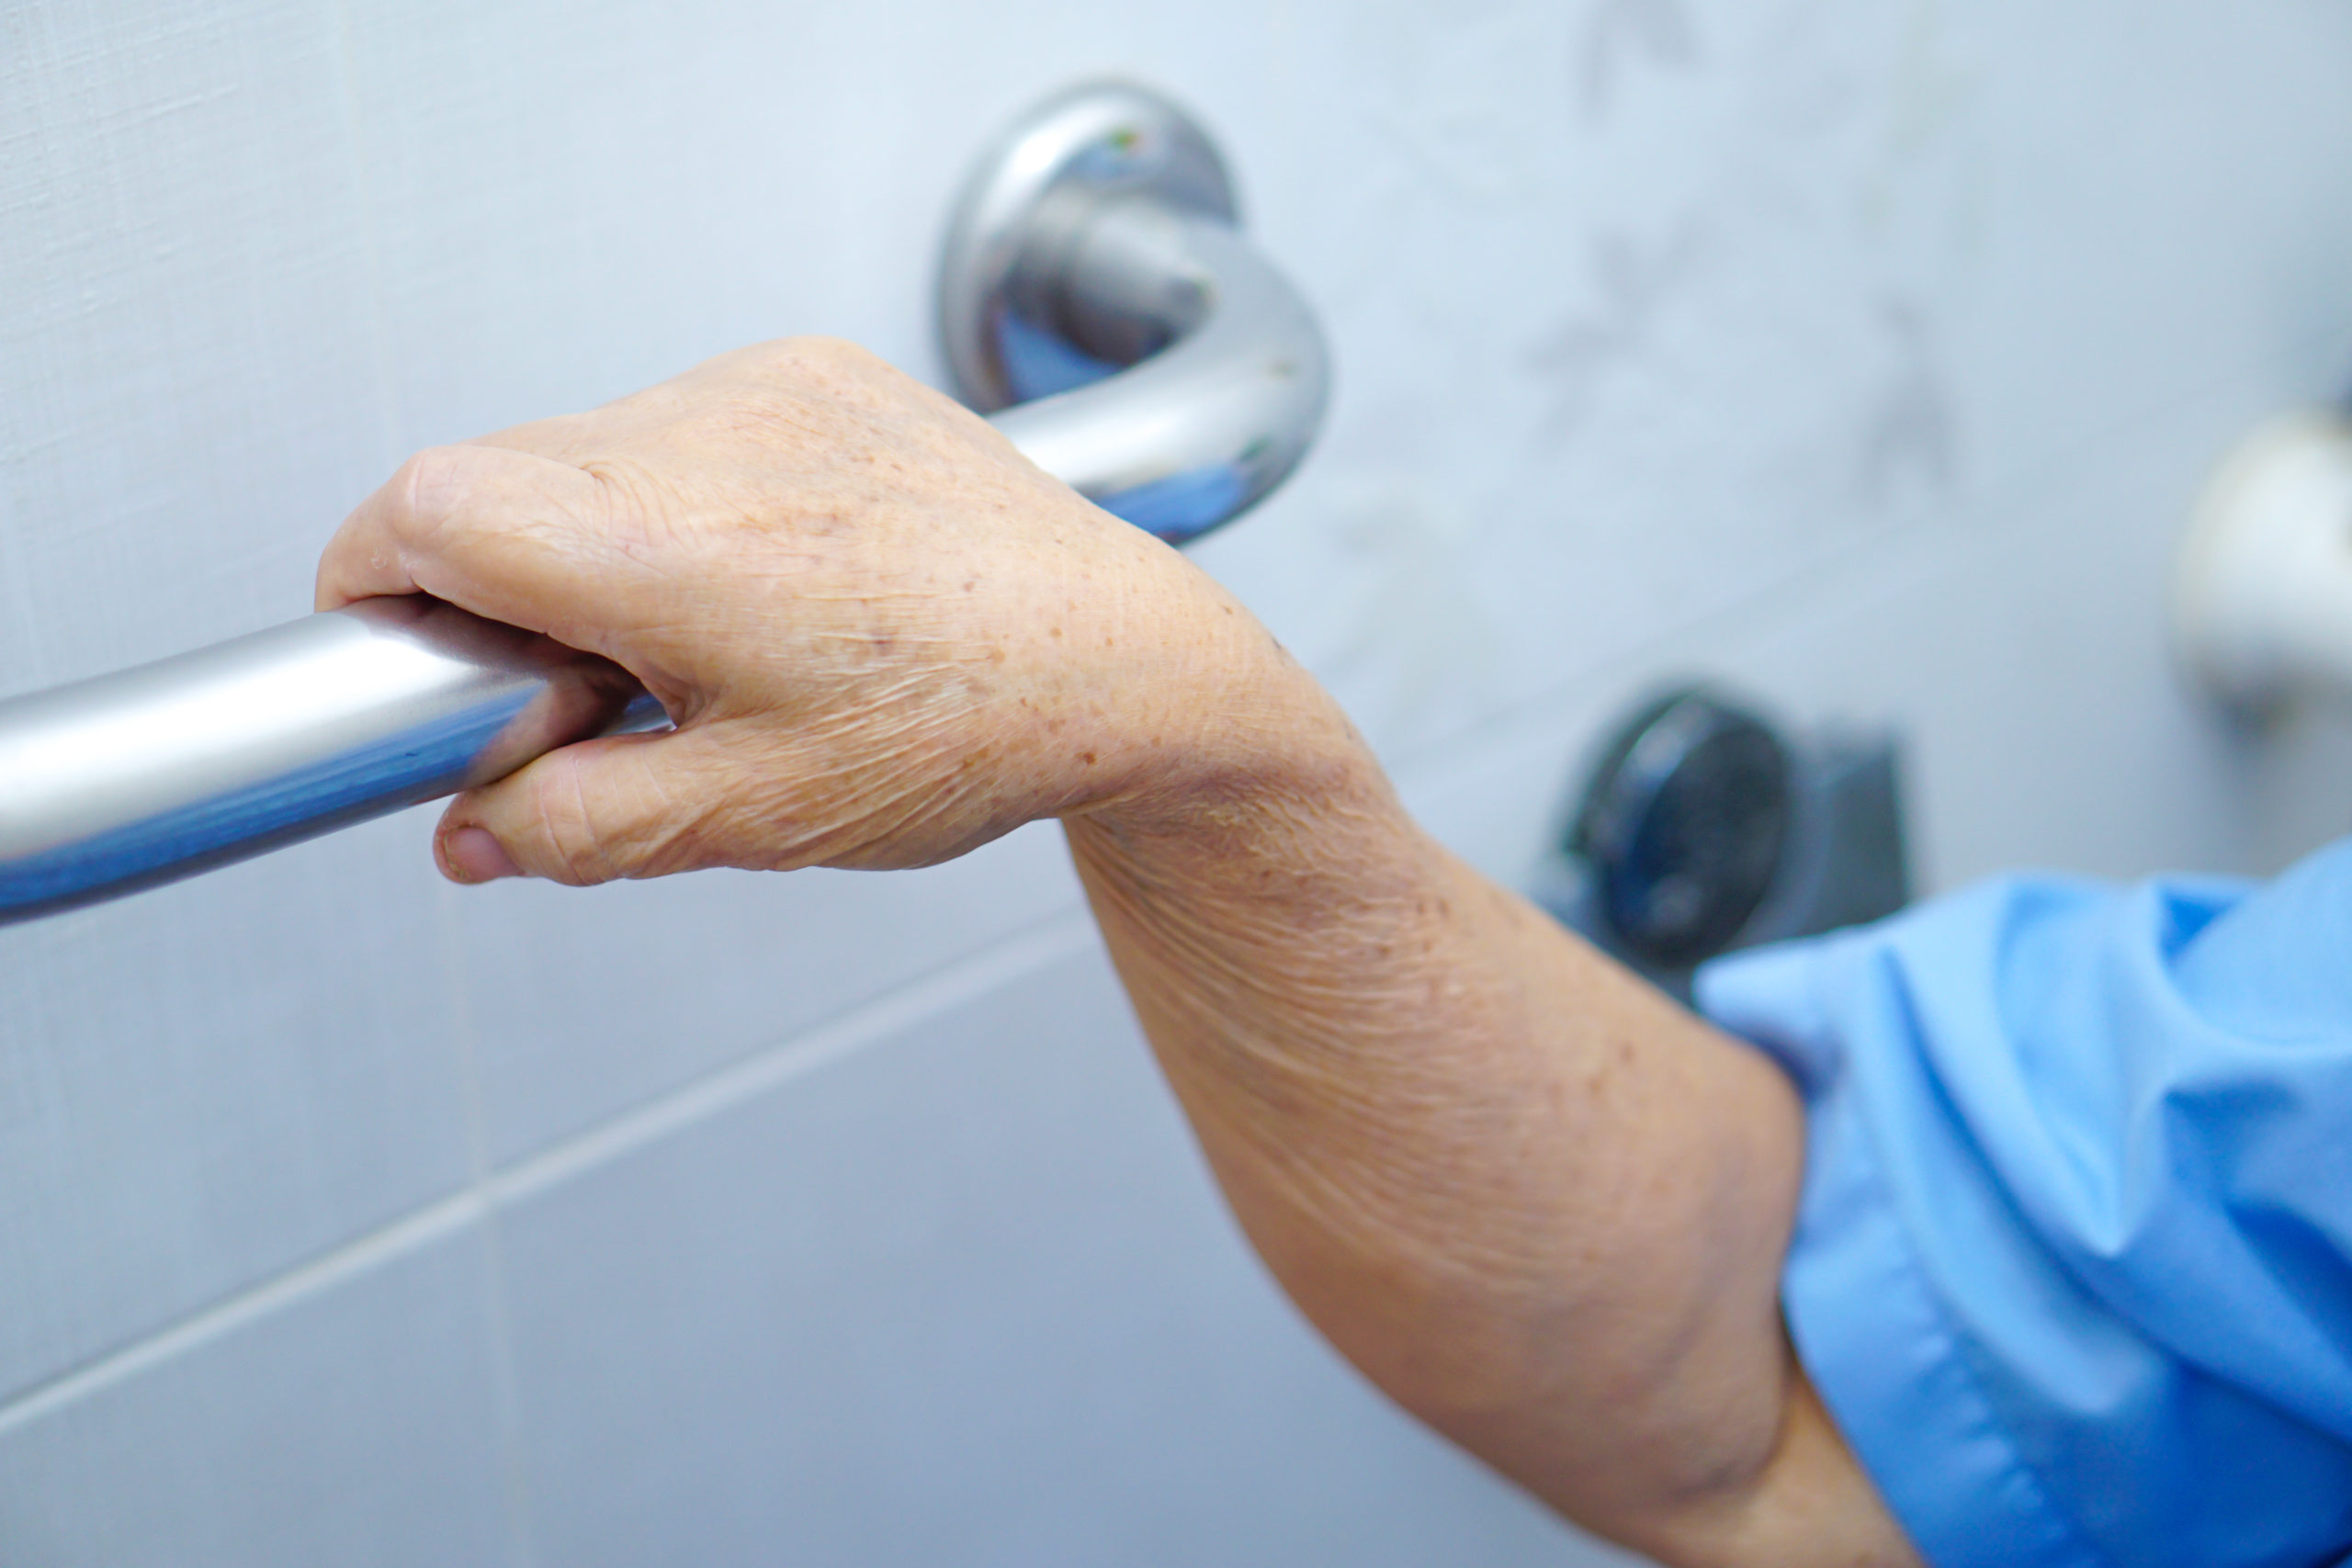
One easy way to avoid falls is to install grab bars in your bathroom. Grab bars provide a quick, easy handhold when we need them and are usually located near the bathtub or toilet. But if you’ve never done this before, you may be wondering how to install a bathroom grab bar.
The location, installation, and size of a grab bar affects its usefulness, so today we will discuss what a grab bar is, where it goes, and how to install one.
What Is a Bathroom Grab Bar?
A grab bar is a safety device, usually installed in bathrooms to provide an easy-to-reach handhold that helps prevent falls. Grab bars are usually located around the bathroom, often inside a shower and/or near the toilet. They typically provide an easily gripped metal or plastic bar conveniently located to provide a secure, stable handhold.
Public buildings, for example, require grab bars to comply with the Americans with Disabilities Act or ADA. Grab bars, along with wheelchair ramps and wheelchair-accessible doorways form the basis of the ADA to allow public access to those with disabilities.
For most installations, grab bars are required in various locations in the bathroom, including around the back and side walls surrounding a toilet. Shower/tub grab bars follow a similar requirement and must be located within arm’s reach.
You may want to consider a few different types of grab bars before buying. Since there are so many choices, you want to find the best for your specific situation. You don’t want to install a grab bar and then realize you don’t want it.
Can I Install a Grab Bar Myself?
If you are a typical homeowner with a few tools and experience using them, you can probably install a grab bar. The stability of a grab bar depends almost exclusively on how securely it is installed.
Because the first function of a grab bar is to provide adequate support, the mounting method you use is key to a successful installation. The worst outcome of a grab bar installation project is a grab bar that cannot be trusted, so secure mounting is critical.
*Pro Tip*
Never use a grab bar as a towel rack as the user can accidentally grab the towel instead of the grab bar. If a towel rack is needed, install it in addition to the grab bar.
What Tools Do I Need to Install a Bathroom Grab Bar?
Installing a grab bar is relatively simple and often requires just a few tools. However, if extensive modifications to the wall are required, it is recommended you call a professional.
Grab bars are only as good as the mounting, so follow the manufacturer’s instructions carefully. Many grab bars will include the mounting hardware, but if yours does not the directions will describe which fastener to use.
Grab bars are not difficult to install if the room has adequate structural support. Normally, this means the wall studs are located where they need to be to conform to the ADA requirements. If adequate support is not available, the wall must be modified. This extra modification is usually in the form of blocking and/or additional studs.
In today’s example, we will assume the structural support is in place, and we need to locate and mount the grab bars for a toilet and a bathtub. For this project we will need:
- Measuring tape
- Marker
- Drill with wood bits and driver bits
- Level
- Ratchet set, or wrenches (optional)
- Screwdriver (optional)
- Stud finder
Depending on the grab bar size, the directions may require the use of screws or lag bolts, so if you need one, you probably won’t need the other.
Installing a Bathroom Grab Bar
Step 1: Locate and Mark the Locations
Toilet
As mentioned earlier, grab bars in bathrooms should be located in specific locations, depending on the function.
For toilets, grab bars should be located both behind the toilet and beside the toilet. Most grab bars utilize a mounting bracket from which the grab bar will hang, covered by a plate to conceal the fasteners.
For the side grab bar, the bar must be at least 42” long and no more than 12” from the wall behind the toilet. Generally, these grab bars are installed level to the floor. The rear grab bar should be mounted to the wall behind the toilet, and should be a minimum of 36” long.
In most situations, the grab bar will be longer than the toilet is wide, so the end of the grab bar closest to the corner should be aligned with the toilet tank. This method will ensure that the grab bar remains close to the toilet regardless of its length.
Shower
Marking the holes for a shower-mounted grab bar can be slightly different, depending on the shower. Some ADA-compliant showers include a seat or bench, which may be removable.
For a standard shower without seats, the grab bar should be located on both the control wall (the wall with the fixture) and the back wall (the wall furthest from the entry door). Be careful to make sure the space is at least 36” wide not including the grab bar.
As mentioned, roll-in showers may include a bench or seat to make bathing easier. In these installations, locating the grab bar in the typical location and orientation may prevent the use of the seat. Professionals will often install the grab bar at a 30-degree angle to the seat for clearance.
Step 2: Mark and Drill the Holes
In most installations, drilling the holes will involve drilling through the drywall or cement backer board into the wall studs. Each manufacturer will offer slightly different fasteners, but any fastener must be attached to the stud, not just the drywall.
Never attach a grab bar with wall anchors unless they are specifically designed for use with a grab bar. Use only the manufacturer’s approved fasteners, which are often supplied within the package.
Depending on the surface, additional drill bits may be required to drill the pilot holes. A standard wood bit or bi-metal bit will work for drywall or studs, but if your installation has tile, it probably also has a cement backer board. Drilling into these materials will likely require a masonry drill bit, or even a tile bit, like this one.
Professional installers will use the framing of the wall corners to mark the first hole location. Any wall will have a corner post inside the wall, which is usually 3” wide, making it a perfect location for the first hole.
Using a level, locate the second hole location with the mounting bracket as a template and mark three locations on the wall; two at the top and one on the bottom. Professionals install additional fasteners at the top because most users will be pushing down on the grab bar, not up.
Step 3: Mount the Bracket and Repeat
To mount the bracket, simply hold it in place and drive one fastener into a stud, but do not tighten. Then, pivot the grab bar to the desired location and repeat the process, but this time tighten the fastener.
Now go back and tighten the first fastener. You can now drive in the other fasteners (usually three per bracket) through the additional holes in the bracket. At this stage, just repeat the process with as many grab bars as needed.
Step 4: Test the Grab Bars
Professionals will always test a grab bar installation. As mentioned earlier, the mounting is critical, so hand-test the strength of the bar by pulling it firmly. If the bar moves at all, the fasteners must be inspected and corrected as necessary until the grab bar is completely stable and safe to use.
Comments are closed